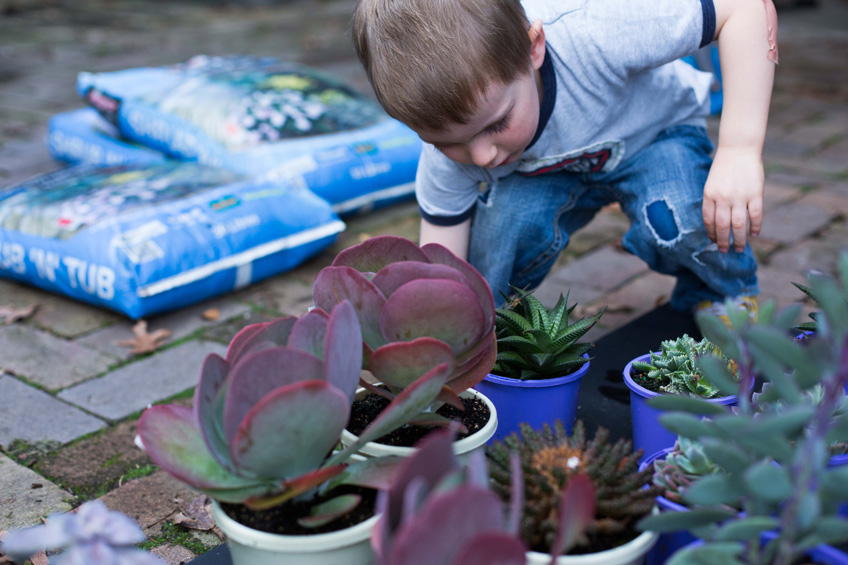
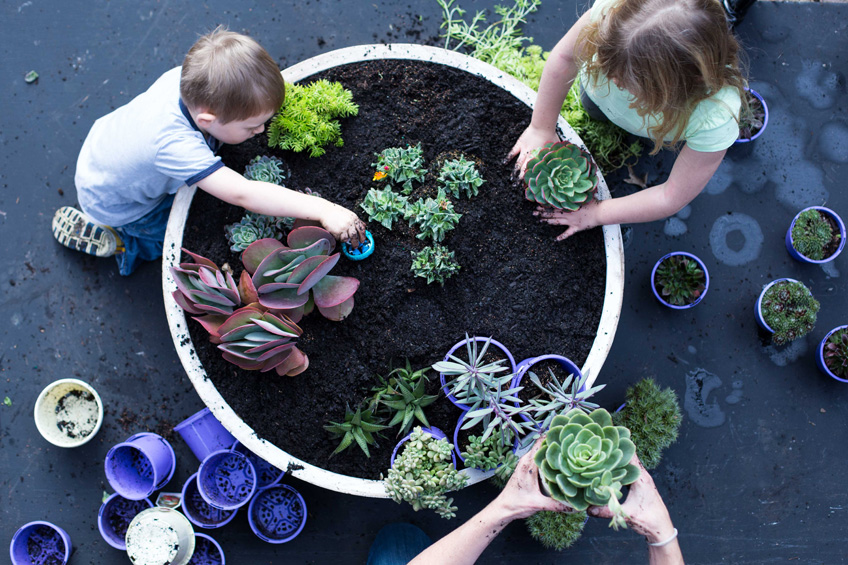
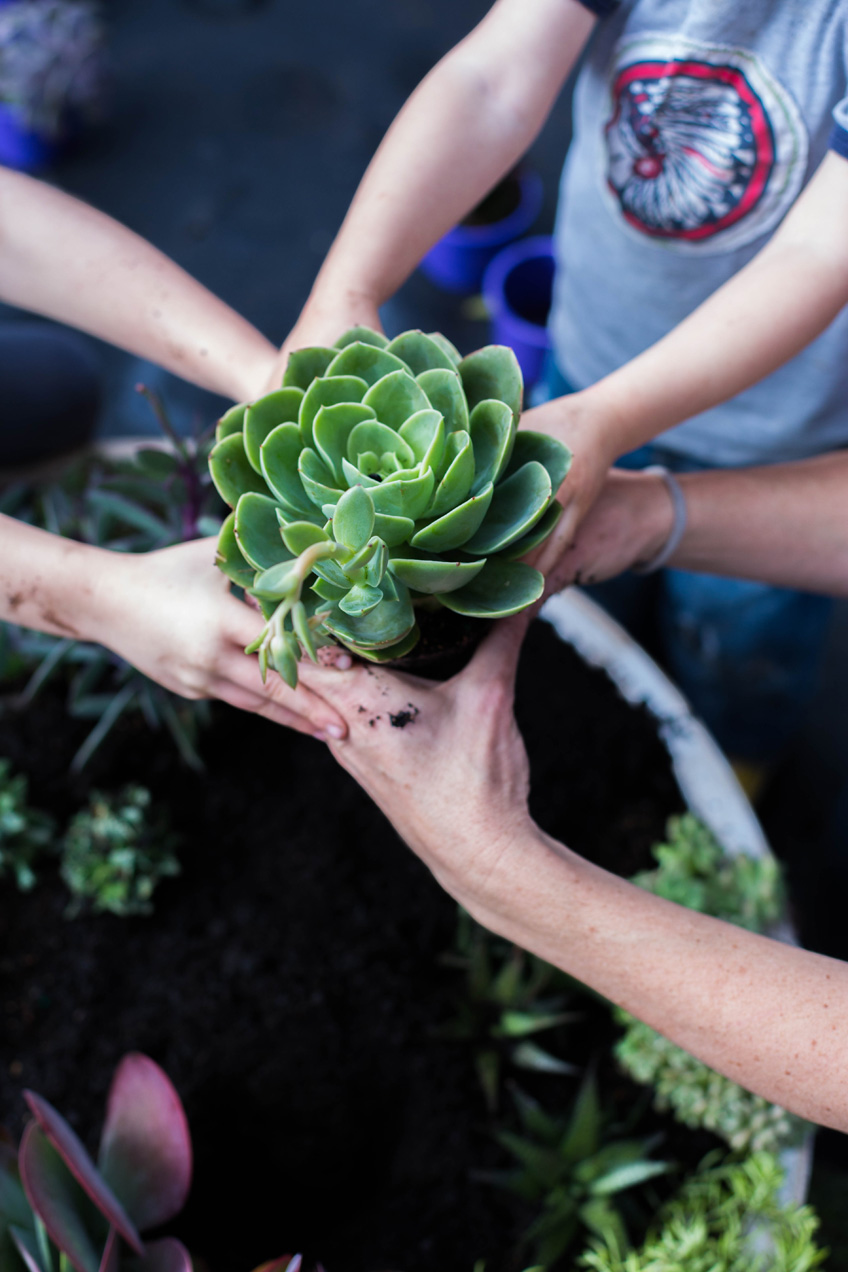
If you happen to have a couple of kids running round the joint and you need to occupy/entertain/drench-them-in-much-needed-Vitamin-D during these school holidays, we have little project for you that will get them outdoors and chomp through a day, max.
Good luck getting through the other 16 days but hey, who’s counting?
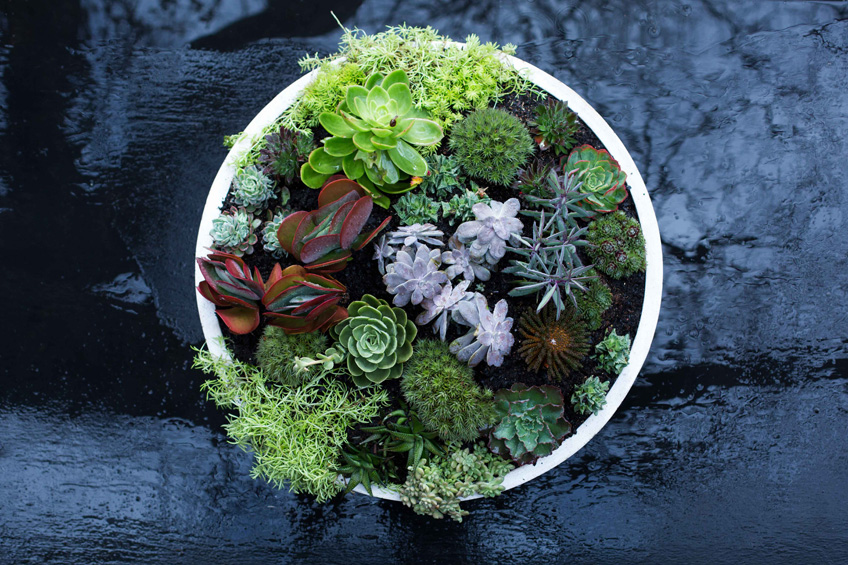
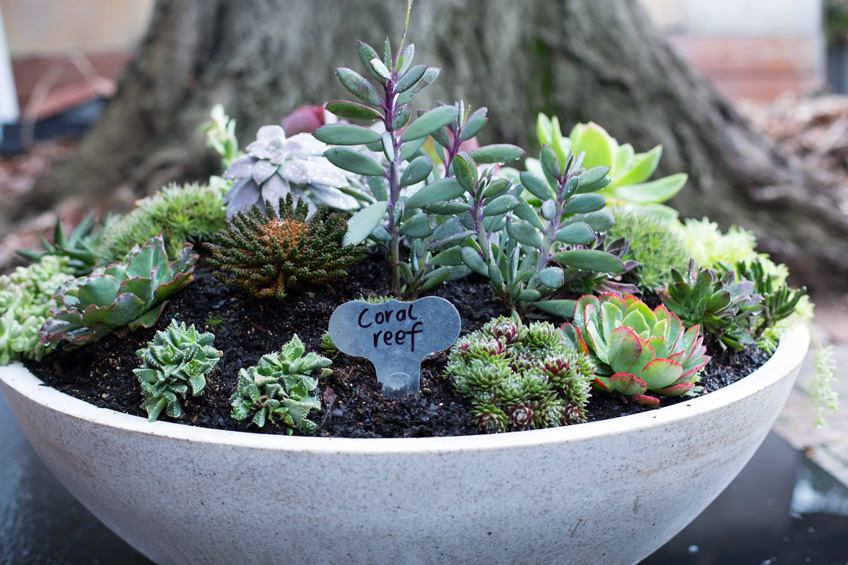
We call it Nemo’s coral reef (It’s hard to believe that cute tangerine striped clown fish Nemo is 12 years old. For god’s sake he’s nearly a teenager)
and is a patch of succulent joy that can double as the next scene in your Nemo re-enactment, or if you kids are Octonaut-addicted like mine (thank
you ABC iview), a coral reef garden for your favourite aquatic friends Barnacles, Kwazii and Peso.
Plants
First up, take a trip to your local nursery. They’ll have a succulent and cactus section, but if you can’t see it, ask someone. Nursery people are lovely
folk – I promise unlike Bruce they won’t bite!
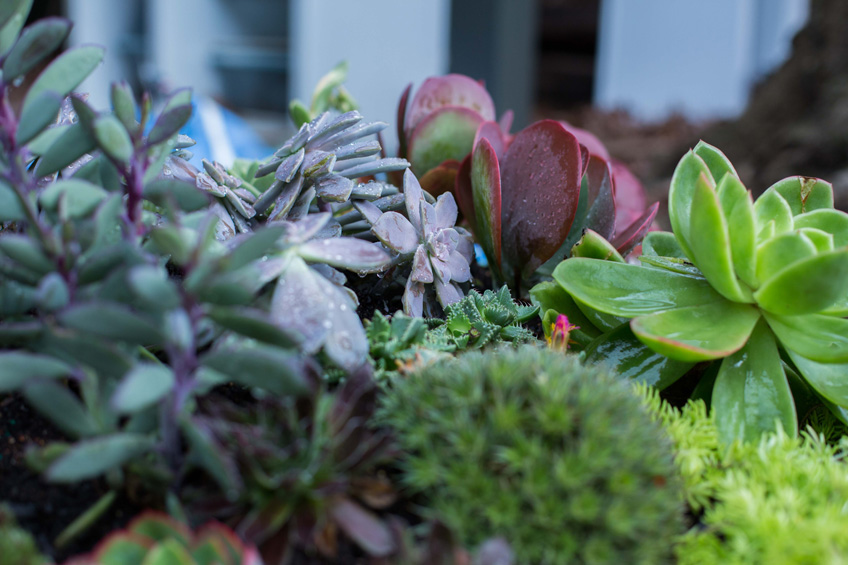
Succulents are fascinatingly symmetrical, organic and dry loving – all their water needs are locked up in those thick juicy leaves. Their shapes resemble
an underwater scene but they only need a squirt of water to survive – and they’ll take temperatures up to 50C.
Start with violet, silver, pink and blue-grey shades of the flower-shaped, Armageddon proof, hen and chicks (Echeveria sp.). Add as many miniature
rosettes of house leeks (Sempervivums) you can afford and whack in three taller seaweed green Euphorbia trigona. Scatter colourful
jelly beans (Sedum x rubrotinctum); luminescent Sedum ‘Gold Mound’ around the edges and some spiky ‘corals’ of agave. I’d also go
for Kalanchoe ‘Flapjacks’ with rose pink edges.
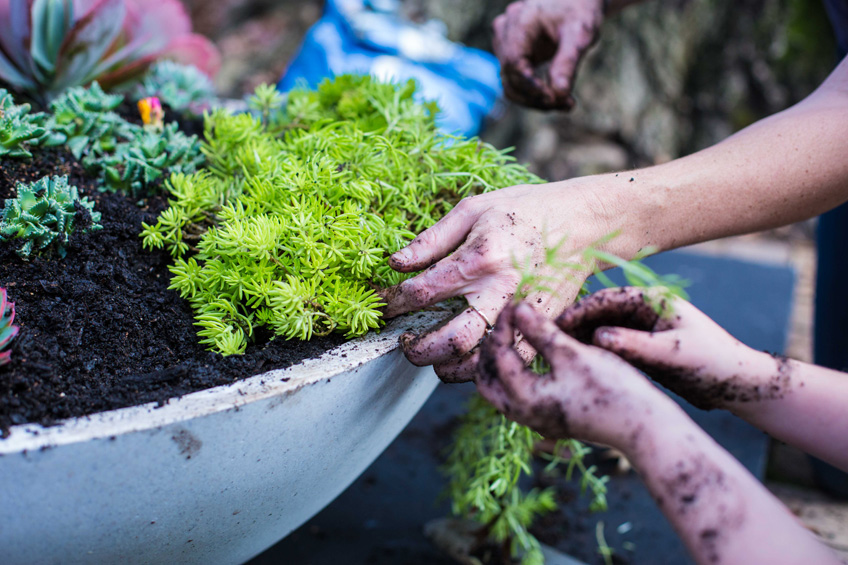
Succulents propagate easily from leaves or pieces of stem. And some succulents change colour in winter! Leaf margins and tints can completely change for
a winter scene only to change back again in spring.
Position
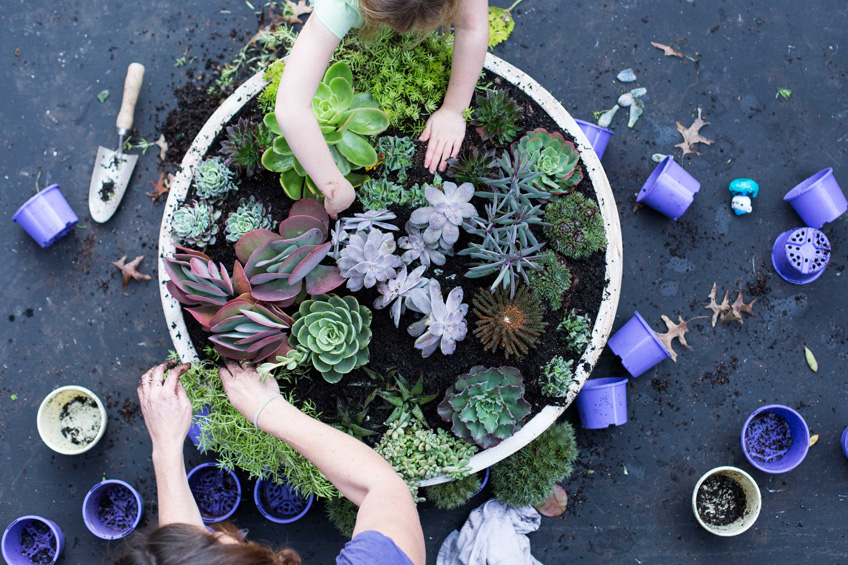
Unlike underwater coral, these guys like it hot and dry – perfect plants for careless (I mean busy!) green thumbs. Find a spot bathed in sun. We used a
shallow pot because succulents don’t need much depth to grow (5cm in most cases!). Fill to brim with a sandy succulent mix (or if you’ve chosen a sunny
garden bed, instead heap it up with the same sandy mix.) Fill the pot with mix in situ as it can get rather heavy! Drainage is vital with succies,
so a pot is a perfect choice. If the pot is tall, half-fill it with polystyrene balls first to keep things light (wish we’d taken our own advice there
– ours is still waiting for the X-Men to move it).
Design
Dot the most eye-catching succulents first and create patches of three, just like coral would inhabit a rock shelf. Off centre works best as does a little
colour repetition. Soften with spill overs. Those who haven’t crammed their succulents in too close (oops) can use rounded rocks and a sand mulch to
finish the scene.
Care
You will need to ‘coralscape’ your patch, removing withered or fungus-spotted outer leaves to make way for new colours to pop. Also if your kids are as
‘curious’ as mine, they’ll rip off leaves, stems and many coral will get harmed in the making of your reef. Don’t despair - just stick them into the
soil – near their coral relatives – miraculously they’ll regrow. Some plants will get too big and need to be reined in. Older mother coral will make
smaller babies around their bases. Remove the larger plants to make way for the next generation.
Watch out
Rotting of the root zone, and not coral bleaching or climate change, is the number one enemy of your coral reef. Keep your coral dry during autumn and
winter. Water only in the growing season. And let’s hope our beautiful Great Barrier Reef lives as long as your pocket-sized one.

Images- Hannah McCowatt